The Art and Science of Bread Preservation: A Masterclass in Freezing for Lasting Freshness
For many active households, bread is the undisputed cornerstone of the daily diet. From the morning toast that fuels a school day to the sandwich buns and bagels that sustain growing appetites, the “bakery aisle” often represents a significant portion of the weekly grocery expenditure. However, the pursuit of economy—stocking up during sales or buying in bulk—frequently runs into a common culinary enemy: Freezer Burn.
Nothing is more discouraging than reaching for a loaf of bread only to find it riddled with ice crystals, rendered dry and brittle by the very process meant to preserve it. Fortunately, by understanding the molecular behavior of bread and utilizing professional preservation techniques, you can ensure that every slice tastes as though it were pulled from the oven that same morning.
I. Understanding the Enemy: Why Bread Goes Stale
To preserve bread effectively, one must first understand Retrogradation. This is the chemical process where starch molecules in the bread crystallize over time, pulling moisture away from the bread’s crumb and into its crust or the surrounding air.
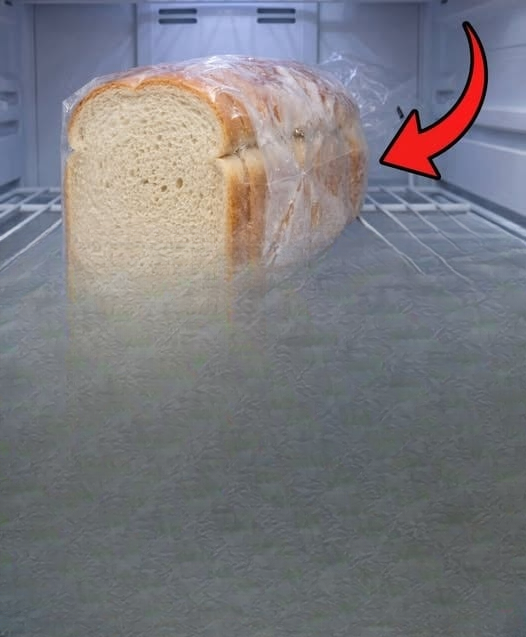
The Refrigerator Trap
A common mistake is storing bread in the refrigerator. While this prevents mold, the cold temperature (above freezing but below room temperature) actually accelerates the staling process by up to six times. To truly stop the clock on bread’s freshness, you must move past the fridge and directly into the freezer.
II. The Professional “Flash Freeze” Method
The difference between a “frozen block of bread” and “fresh-thawed bread” lies in the preparation. Following a structured, professional method prevents the migration of moisture and ensures ease of use.
1. Timing is Everything: The Peak Freshness Rule
Preservation is not a rescue mission for stale bread. To get the best results, you must freeze your bread while it is at its peak freshness. If you buy a fresh, unsliced loaf from a local bakery, don’t wait three days to decide to freeze it. The moment you bring it home, it should be prepared for the freezer. This “locks in” the moisture content before the retrogradation process gains momentum.
2. The Strategic Slice
Always slice your loaf before freezing. Trying to slice a frozen loaf is dangerous and results in uneven pieces. By slicing beforehand, you increase the surface area that can be flash-frozen, which leads to a more consistent texture upon thawing.
3. The “Flash Freeze” Technique
This is the secret used by professional kitchens to ensure individual pieces remain accessible and undamaged.
-
Preparation: Line a baking sheet with parchment paper to prevent sticking.
-
Spacing: Lay the slices in a single layer. Do not overlap them, as moisture can trap between the slices and cause them to fuse.
-
The First Freeze: Place the uncovered sheet in the freezer for 1 to 2 hours. This “sets” the exterior moisture of each slice.
III. Packaging for the Long Haul: Avoiding Freezer Burn
Once the slices are flash-frozen and firm, the next step is protecting them from Sublimation—the process where ice turns directly into vapor, leaving the bread “burnt” and dry.
Layered Protection
For the best results, utilize a double-barrier method:
-
Primary Wrap: Wrap small stacks of slices (2 to 4) tightly in plastic wrap or wax paper. This removes as much air as possible from the immediate surface of the bread.
-
Secondary Barrier: Place the wrapped bundles into a heavy-duty, freezer-safe Ziploc bag.
-
The “Straw Trick”: Before sealing the bag completely, insert a straw and suck out the remaining air to create a DIY vacuum seal.
IV. From Freezer to Table: The Thawing Process
How you bring bread back to life is just as important as how you freeze it.
For Toasting
If you intend to toast the bread, there is no need to thaw it. You can move the slice directly from the freezer to the toaster or toaster oven. The high heat will simultaneously evaporate the frost and crisp the exterior, resulting in a texture nearly identical to fresh bread.
For Sandwiches
If you need soft bread for a sandwich, place the frozen slices on a plate at room temperature for about 15–20 minutes. Keep them covered with a clean kitchen towel to prevent the edges from drying out as they thaw.
V. Economic and Environmental Impact
Beyond the culinary benefits, mastering bread preservation has a profound impact on household management.
-
Reducing Food Waste: According to environmental studies, bread is one of the most commonly wasted food items globally. Freezing prevents perfectly good loaves from ending up in the compost bin.
-
Budget Optimization: By knowing you can keep bread fresh for up to 3 to 6 months in the freezer, you can confidently take advantage of “Buy One, Get One” sales or bulk purchases at warehouse clubs.
VI. Summary: The Golden Rules of Bread Freezing
| Step | Action | Benefit |
| Slice | Cut fresh loaves immediately. | Enables individual portioning. |
| Flash Freeze | Freeze slices on a tray first. | Prevents slices from sticking together. |
| Airtight Seal | Double-wrap and remove air. | Eliminates freezer burn. |
| Direct Heat | Toast from frozen. | Restores “just-baked” texture. |
VII. Conclusion: Reclaiming the Bakery Experience
The frustration of wasted food and dry sandwiches is a solvable problem. By viewing the freezer not as a storage bin, but as a “pause button” for freshness, you can ensure your kitchen always has a supply of high-quality bread ready for your family’s needs. Whether it’s an artisanal sourdough or a simple pack of English muffins, the extra five minutes of preparation on grocery day will pay dividends in every meal that follows.
Bread is more than just an ingredient; it is a comfort. By using these professional techniques, you ensure that comfort is never more than a few minutes away.