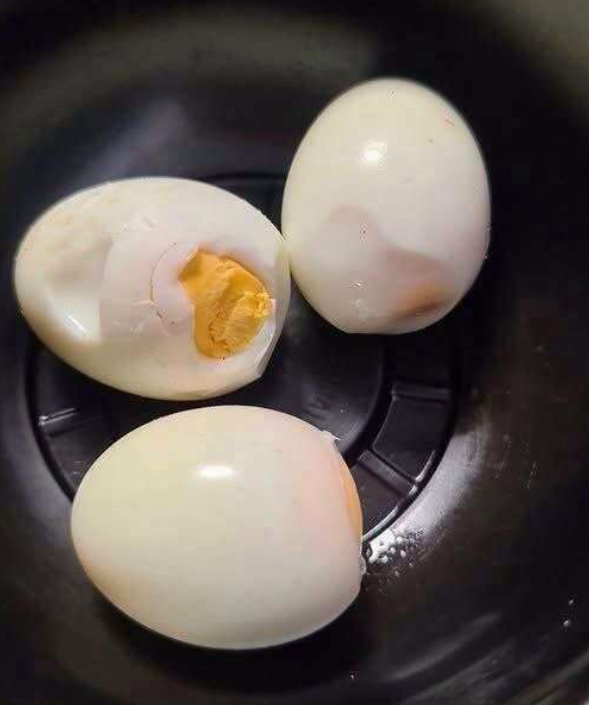
Cutting open a hard-boiled egg should reveal a firm white and a bright yellow yolk. Sometimes, however, a greenish-gray ring appears around the yolk, making the egg look less appetizing and raising questions about whether it is still safe to eat.
The good news is that this discoloration is usually caused by a normal chemical reaction during cooking, not spoilage. It commonly happens when eggs are heated for too long or exposed to excessive heat. Although the ring can affect the egg’s appearance, the egg is generally safe to eat if it has been handled and stored properly.
With a few simple adjustments to cooking time, temperature, and cooling, you can make hard-boiled eggs with tender whites and golden yolks.
What Causes the Green Ring Around an Egg Yolk?
The greenish-gray ring forms when sulfur compounds in the egg white react with iron in the yolk during heating. This reaction produces iron sulfide, which creates the familiar discoloration around the outside of the yolk.
The reaction is more likely to become noticeable when eggs are cooked for too long or at excessively high temperatures.
Although the color may look unusual, the ring alone is not evidence that an egg has spoiled. Overcooking can also produce a stronger sulfur-like smell and make the yolk dry, crumbly, or chalky.
It is important to remember that appearance is not a complete food-safety test. Eggs should still be cooked thoroughly, refrigerated promptly, and discarded if there are other signs of spoilage or if they have been stored improperly.
Why Cooking Eggs for Too Long Can Affect Their Texture
Some people leave eggs boiling for 15 to 20 minutes because they want to make sure the yolks are completely firm. Depending on the cooking method and egg size, however, that much heat can be unnecessary.
Excessive cooking may lead to several changes:
- Rubbery egg whites: The whites can become firmer and less pleasant to eat.
- Dry yolks: The center may become crumbly rather than smooth.
- Green-gray discoloration: The chemical reaction between sulfur and iron becomes more noticeable.
- Stronger odor: Overcooked eggs may develop a more pronounced sulfur smell.
The goal is to cook the eggs thoroughly without exposing them to more heat than necessary. Using a timer and cooling the eggs promptly can help produce more consistent results.
How to Make Hard-Boiled Eggs With Golden Yolks
One practical method is to heat the eggs in water, allow them to finish cooking in the covered pot, and then cool them quickly. Cooking times can vary with egg size, starting temperature, pot size, and the amount of water used, so the following method is a useful starting point rather than a guarantee for every kitchen.
Step 1: Place the Eggs in a Pot of Cold Water
Arrange the eggs in a single layer in a saucepan. Add enough cool water to cover them by approximately one to two inches.
Starting with cold water allows the eggs to warm gradually. It may also reduce cracking caused by sudden temperature changes, although shells can still crack during cooking.
Avoid overcrowding the pot, especially when preparing a large batch. The eggs should fit comfortably without being packed tightly together.
Step 2: Bring the Water to a Boil
Place the saucepan over medium heat and bring the water to a boil.
Once the water reaches a steady boil, turn off the heat and cover the pot with a lid. Let the eggs remain in the hot water to continue cooking.
For many medium or large eggs, allowing them to stand for approximately 9 to 12 minutes can produce a yolk ranging from softer and just set to firm. The exact result depends on the eggs and cooking conditions.
If you prefer a fully firm yolk, use the longer end of the range and check the results the first time you try the method. If the yolks are too soft, adjust the timing slightly on your next batch.
For food safety, eggs should be cooked until both the whites and yolks are firm. People at higher risk of foodborne illness, including young children, older adults, pregnant people, and those with weakened immune systems, should be especially careful to use thoroughly cooked eggs.
Step 3: Transfer the Eggs to an Ice Bath
When the cooking time ends, carefully transfer the eggs into a bowl filled with ice and cold water.
Leave them in the ice bath for approximately 5 to 10 minutes, or until they have cooled thoroughly.
This step helps stop the cooking process and reduces the chance that the eggs will continue heating inside their shells. Prompt cooling can also help preserve a more appealing yolk color and prevent the whites from becoming tougher than necessary.
Use a spoon or tongs to move the eggs safely, since the shells and water may still be hot.
Step 4: Peel and Serve
Once the eggs have cooled, gently tap each shell against a firm surface and roll it to create small cracks. Begin peeling from the wider end, where an air pocket is often present.
Peeling under a gentle stream of water or in a bowl of water may help loosen small pieces of shell.
If the shell sticks to the white, peel slowly rather than pulling away large pieces at once. Some eggs are simply harder to peel than others, even when they have been cooked correctly.
Does an Ice Bath Make Eggs Easier to Peel?
Rapid cooling is helpful because it stops the cooking process, but it does not guarantee an effortless peel every time.
Egg freshness can also influence how easily the shell separates from the white. Very fresh eggs are often more difficult to peel after boiling, while eggs that have been refrigerated for several days may peel more easily.
If you plan to prepare deviled eggs, egg salad, or a batch of eggs for meals throughout the week, using eggs that are not exceptionally fresh may make peeling less frustrating.
Always check the eggs before cooking and follow the storage guidance on the carton. Do not use eggs with cracked or leaking shells if their safety is uncertain.
How to Tell Whether a Hard-Boiled Egg Is Safe to Eat
A green ring around the yolk is usually a result of cooking conditions, but other signs deserve attention.
Discard an egg if it has an unusual or unpleasant odor that suggests spoilage, visible mold, or other unexpected changes. Also discard cooked eggs that have been left at room temperature for more than two hours, or more than one hour when temperatures exceed 90°F (32°C).
Hard-boiled eggs should be refrigerated within that period and stored in a clean, covered container. According to standard food-safety guidance, hard-boiled eggs can generally be kept refrigerated for up to one week.
Do not rely on color or smell alone to establish safety. Proper cooking, prompt refrigeration, and appropriate storage are important even when an egg looks normal.
Common Mistakes to Avoid
A few small habits can make preparing hard-boiled eggs easier and more consistent.
Cooking without a timer: Even a short extra period of heating can affect texture. Use a timer instead of relying on memory.
Leaving the eggs in hot water too long: Once the intended cooking period ends, cool the eggs promptly rather than letting them sit in the hot pot indefinitely.
Skipping the cooling step: An ice bath helps stop residual cooking and prepares the eggs for peeling and storage.
Expecting every egg to cook identically: Egg size, initial temperature, pot design, and altitude can affect results. Adjust the method if your eggs repeatedly turn out too soft or too firm.
Leaving cooked eggs unrefrigerated: Refrigeration is essential for safe storage. Cool the eggs promptly and place them in the refrigerator rather than leaving them on the counter.
The Best Way to Get Consistent Results
For attractive hard-boiled eggs, focus on controlled cooking, a reliable timer, and prompt cooling. The cold-water method followed by a covered resting period can work well, but it may require a little adjustment to suit your equipment and preferred yolk texture.
If you regularly see a green ring, try shortening the cooking time or cooling the eggs more quickly. Avoiding excessive heat can help preserve a more appealing color and prevent the dry, chalky texture associated with overcooking.
The green ring itself is generally harmless and does not automatically mean an egg must be thrown away. When the eggs have been cooked and stored safely, the discoloration is usually a cosmetic result of the cooking process.
With a little practice, hard-boiled eggs can become a simple, dependable option for breakfasts, salads, sandwiches, and snacks—without the need to guess at the cooking time.